
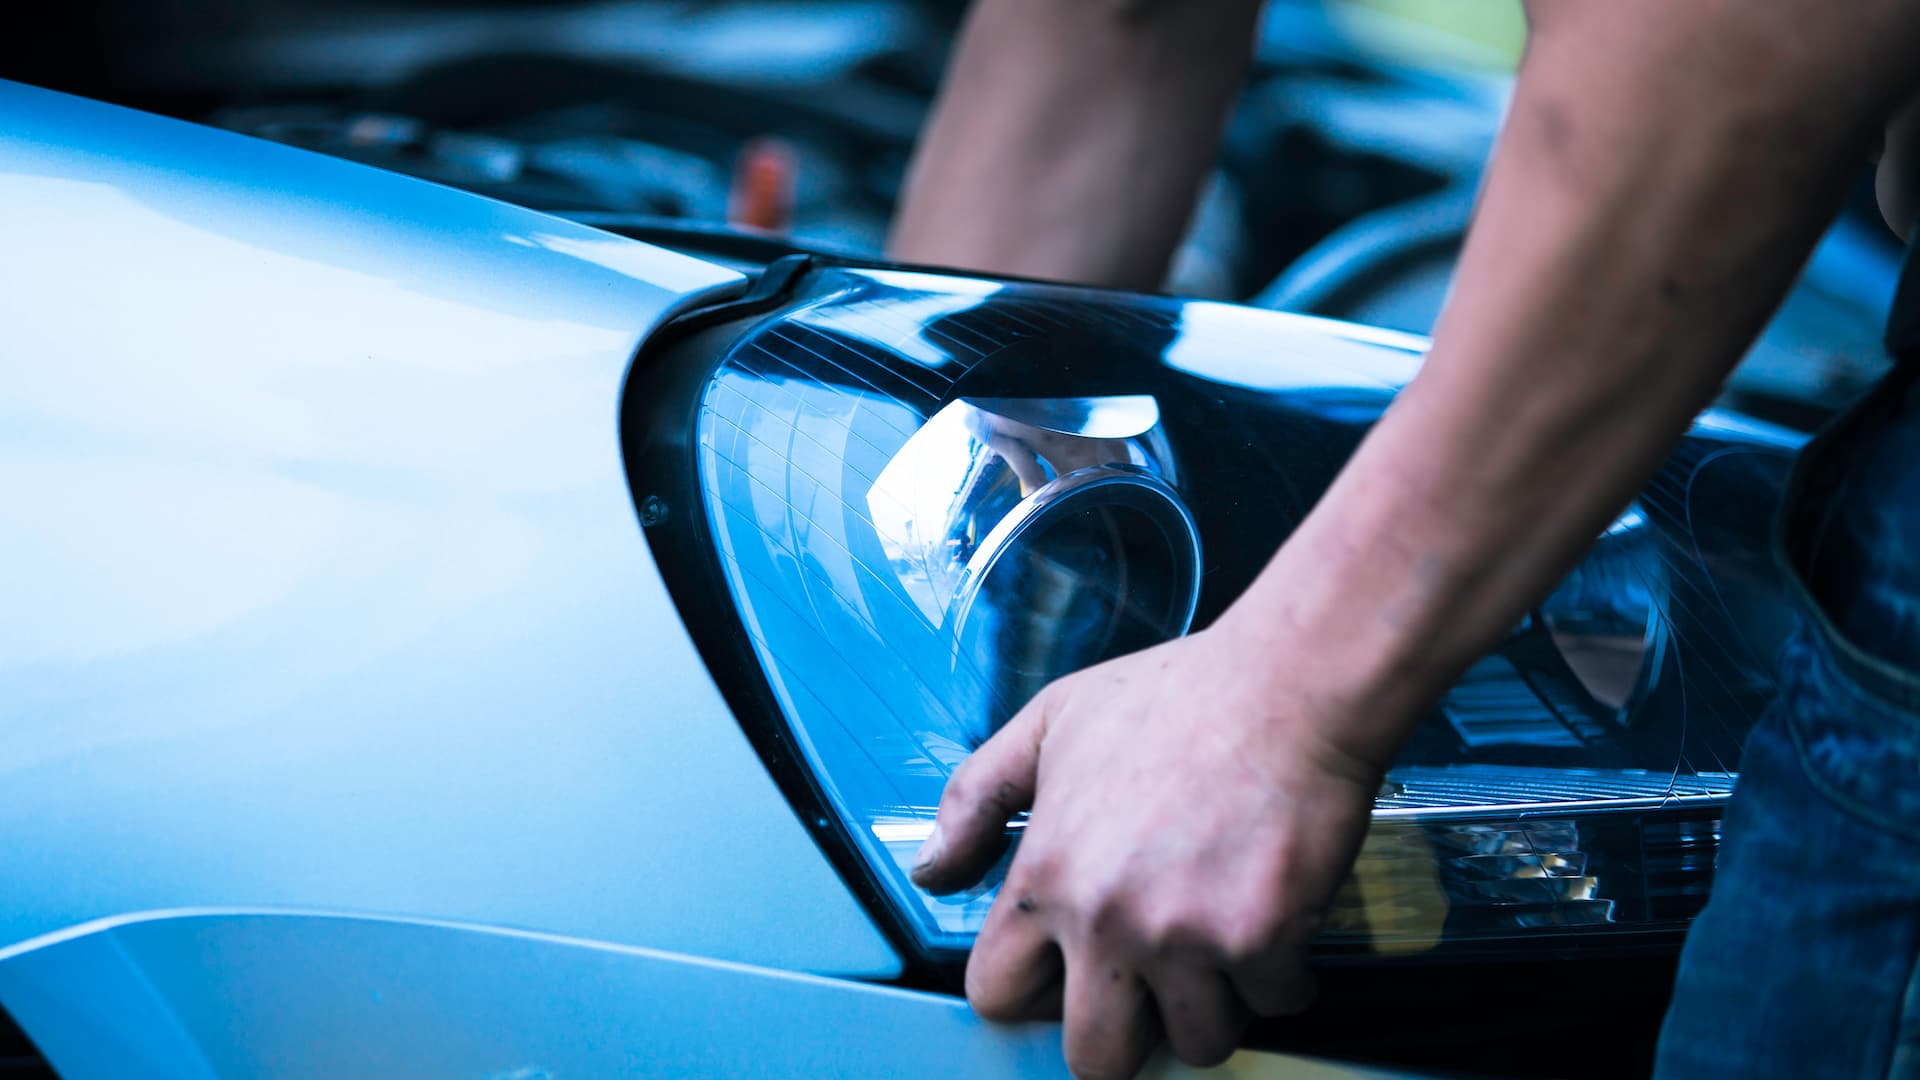
The exterior light fault warning means your vehicle has detected a problem with one or more exterior lights or the electrical circuit that controls them. These can include headlights, taillights, brake lights, turn signals, parking lights, or the fog light and license plate light.
Common Causes:
- Burned-out or incorrect bulbs
- Electrical problems like damaged or faulty wiring, and blown fuses
- Bad switches or lighting control modules
How to Fix Lighting Problems:
- Change the faulty bulbs
- Repair damaged wiring or connections
- Replace the blown fuse
- Swap the faulty switch or control module with a new unit
If you’d like to take a closer look at this alert, we’ll discuss what triggers the exterior light fault warning, how to fix it, and what repairs cost.
This Article Contains:
- What Does an Active Exterior Light Fault Warning Mean?
- Is It Safe to Drive With the Exterior Light Fault Warning On?
- What Causes an Exterior Light Fault Warning?
- How to Diagnose an Exterior Light Fault Issue
- How to Fix the Problem and Reset the Warning
- How Much Does It Cost to Fix Exterior Lighting Systems?
What Does an Active Exterior Light Fault Warning Mean?
An active exterior light fault warning indicates your vehicle has detected a problem with one or more exterior lights, such as a headlight, taillight, brake light, or turn signal. The problem may also stem from damaged wiring or a fault with the lighting control module that manages the vehicle’s exterior lights.
This warning typically appears on the dashboard as a bulb-shaped symbol with an exclamation mark inside or beside it. The exact design varies by vehicle manufacturer.
Before troubleshooting this warning light, let’s understand how urgent it really is.
Is It Safe to Drive With the Exterior Light Fault Warning On?
In most cases, your car will still be drivable with the bulb failure light on. However, you shouldn’t ignore this warning.
Exterior lights help other drivers see your vehicle and anticipate your actions, especially at night or in poor weather. Driving with a faulty light can also increase your risk of a collision and may leave you liable for damages in the event of an accident.
The next step is to narrow down the possible causes of the warning light.
What Causes an Exterior Light Fault Warning?
This alert may be triggered by:
- Burned-out bulbs: Bulbs wear out over time and eventually need to be replaced.
- Faulty wiring: Frayed wires, loose connections, or corrosion from moisture can interrupt the electrical connection, causing flickering lights.
- Blown fuses: A blown fuse can cut power to part of the lighting system, causing one or more exterior lights to stop working.
- Faulty switches: A damaged or worn-out light switch can prevent the exterior lights from turning on or off properly.
- Malfunctioning control modules: Modern vehicles often use electronic control modules to manage exterior lighting. A faulty module can cause lights to behave erratically, resulting in inconsistent lighting.
The first step in diagnosing the warning is finding out which light, if any, is affected.
How to Diagnose an Exterior Light Fault Issue
You can start with a few simple checks yourself. If you can’t identify the problem, or if the warning remains after checking the bulbs, a technician can perform more detailed testing of electrical components.
It’s best to have a technician handle the electrical tests because they require specialized tools and knowledge of the vehicle’s wiring and lighting system.
Let’s take a closer look.
A. What You Can Do Yourself
These simple checks can help you spot some exterior lighting issues without special tools:
- Inspect exterior lights: Turn on the headlights, taillights, parking lights, fog lights, brake lights, license plate light, and turn signals. Walk around the vehicle and look for lights that are dim, flickering, or completely off.
- Examine the brake and reverse lights: Have someone press the brake pedal while you check the rear lights. If you’re alone, use the reflection in a garage door or on a wall. To check the reverse lights, ensure the vehicle is securely parked before shifting into reverse.
- Inspect the bulbs closely: If you find a light that isn’t working, inspect the bulb for visible signs of failure. If your vehicle uses LED lights, make sure replacement LED bulbs are compatible with the vehicle’s electrical system.
NOTE: LED bulbs use much less current than traditional filament bulbs. In some vehicles, this can cause the bulb-monitoring system to mistakenly detect the LED as a failed bulb, even when it’s working properly. In such cases, you may need a compatible CANbus LED adapter, which connects between the LED bulb and the vehicle’s wiring.
However, if every exterior light is working, you may need to look beyond the bulbs for the source of the warning.
B. What’s Better Left to a Technician
When the basic checks don’t reveal the problem, a technician can perform further troubleshooting to test the vehicle’s electrical components:
- Test the fuses: If multiple lights are out, a technician can check the fuses associated with the exterior lighting system. They can test fuse continuity and determine whether a blown fuse is actually the cause of the problem.
- Inspect the wiring and connections: A technician can inspect the wiring harnesses, connectors, and grounds for loose connections, corrosion, or damaged wires.
- Test the light switches: If the bulbs and fuses are working, the switches that control the exterior lights may need to be tested for faults.
- Scan for error codes: A diagnostic scanner can check for stored error codes related to the lighting system, which can help narrow down the source of the fault.
- Inspect the lighting control module: If the bulbs, fuses, wiring, and switches check out but the warning remains, the vehicle’s lighting control module may need to be inspected.
Once the cause of the exterior light fault has been identified, appropriate repairs can be made.
How to Fix the Problem and Reset the Warning
Here’s how a mechanic will go about the repair job:
- Change a failed bulb: Swap out any burned-out bulb for the correct type and wattage specified for your vehicle.
- Repair damaged wiring or connections: Fix or replace corroded or damaged wiring and secure any loose connections in the lighting circuit.
- Install a new fuse: If a fuse has failed, replace it with one of the same rating. If the new fuse blows again, the circuit should be checked for underlying electrical problems.
- Change a faulty light switch: If testing shows that the switch isn’t operating correctly, it may need to be replaced.
- Replace the lighting control module: If the control module is responsible for the warning, it may need to be repaired or replaced by a qualified technician.
- Reset the warning: Once the underlying fault has been fixed, the warning should reset automatically. If it remains illuminated, a technician may need to use a diagnostic scanner to clear the stored fault code.
So, how much should you expect to pay for the repairs?
Let’s find out.
How Much Does It Cost to Fix Exterior Lighting Systems?
Fixing an exterior light issue may involve the following expenses (including parts and labor):
- Taillight replacement: $60 to $800
- Turn signal replacement: $85 to $685
- Headlight bulb replacement: $110 to $470
- Headlight assembly replacement: $150 to $4,400+ per unit
- Light control module replacement: $400 to $1,000
Get Convenient Glow Plug Repairs with AutoNation Mobile Service
Your exterior lights do more than illuminate the road — they help other drivers see your vehicle and understand what you’re doing. That’s why it’s important to address lighting issues that compromise this communication, ASAP.
Too occupied for a shop visit? AutoNation Mobile Service can help.
Our technicians can diagnose and repair your vehicle right in your driveway seven days a week. You’ll also get upfront pricing and a 12-month, 12,000-mile warranty on all repairs.
Schedule your appointment today for hassle-free car care.