Struggling to get your car started?
Hearing clicking noises when engaging the ignition?
These are classic signs of a bad starter relay. If you’re unsure, the good news is that you can confirm the problem with a simple test before moving on to a replacement.
Don’t know where to begin?
We’ll walk you through testing a starter relay, the essential diagnostic steps, and how to replace it.
This Article Contains:
- How to Test a Starter Relay
- What Are the Symptoms of a Bad Starter Relay?
- How to Diagnose a Bad Starter Relay
- How to Replace a Bad Starter Relay
- 3 FAQs about Starter Relays
How to Test a Starter Relay
Testing a start relay requires specialized tools and knowledge of the car’s electrical systems. For example, if you wire the relay incorrectly, it can cause a short circuit that drains the battery or even damage the starter motor. That’s why you should contact a mechanic instead.
Here’s an overview of what they’ll do:
Step 1: Gather the Tools
Some supplies the mechanic will use include:
- 12-volt battery or power source
- Jumper wires
- Digital multimeter
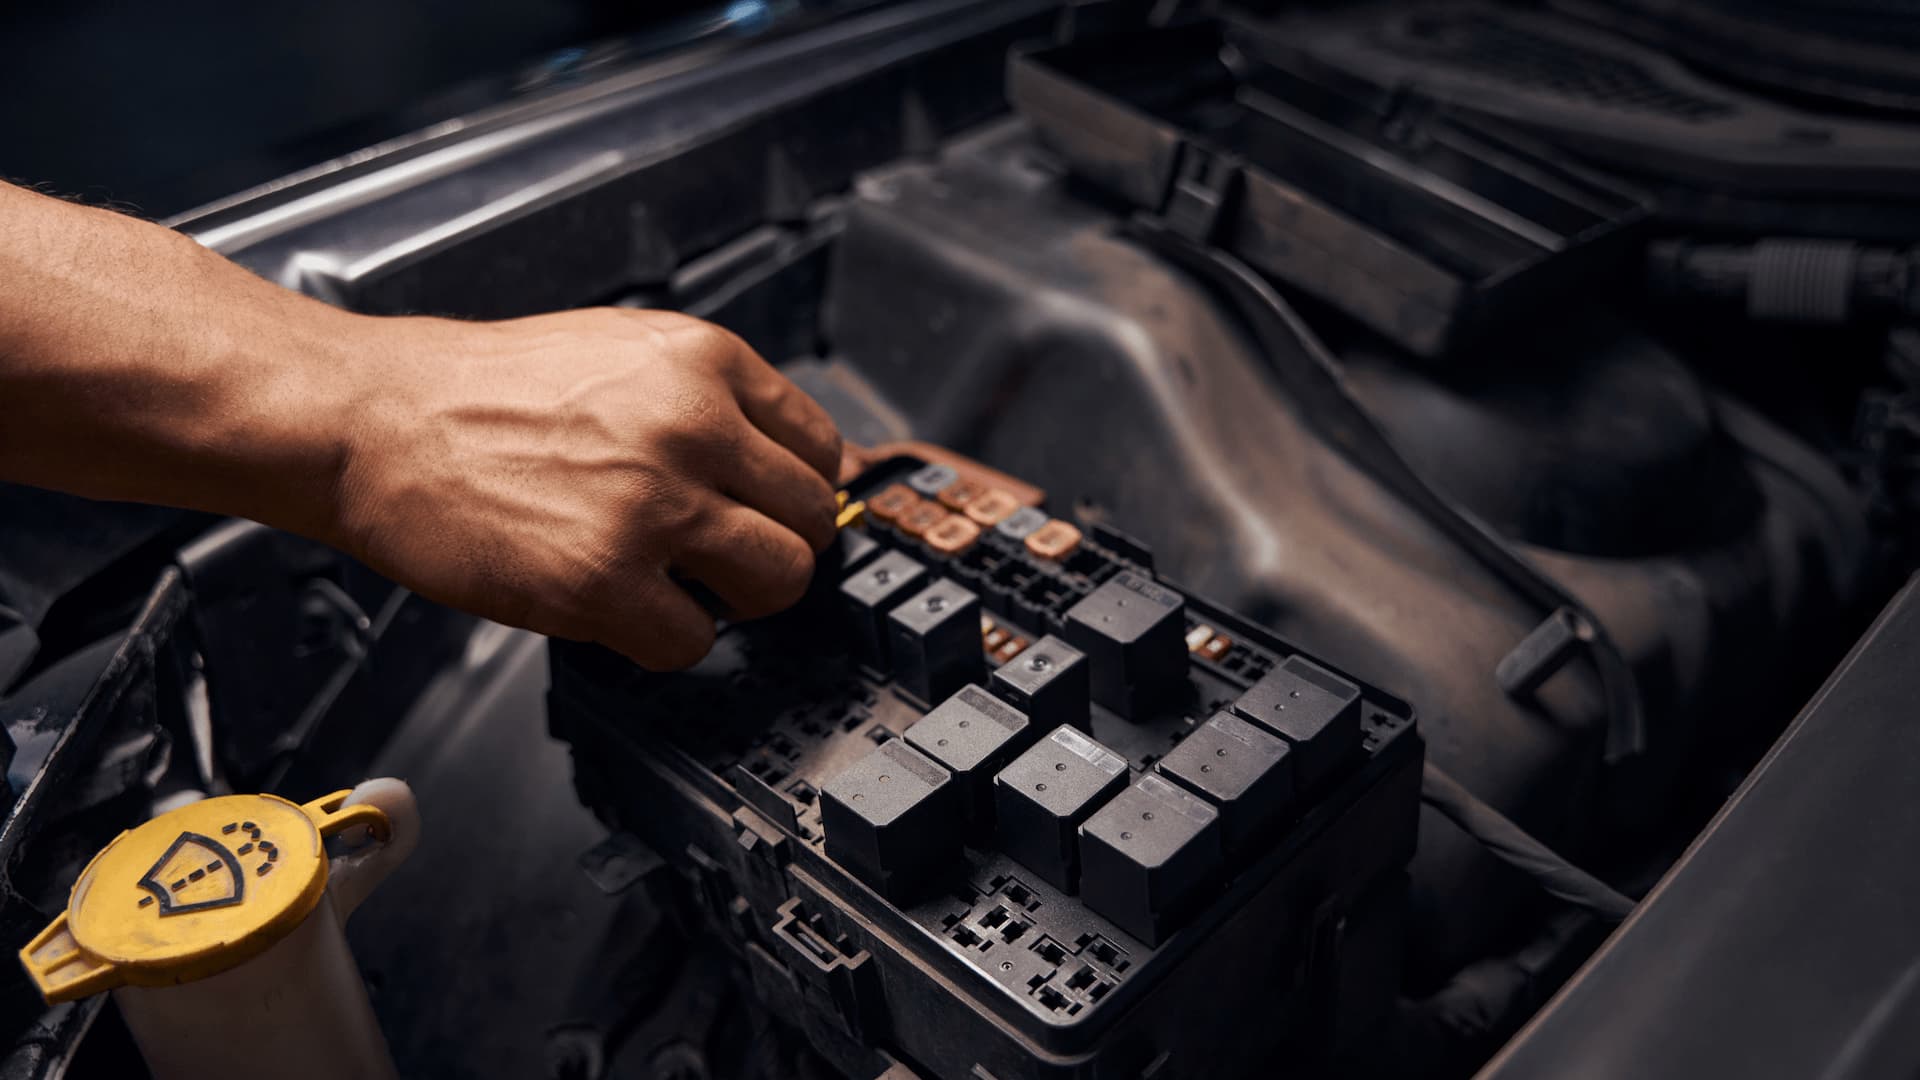
Step 2: Remove the Relay
They’ll locate the starter relay, usually in the engine bay fuse box or under the dashboard, and carefully pull it out of its socket. This prevents false readings from the surrounding circuit and allows a clean bench test.
Step 3: Identify the Terminals
Most starter relays use four pins:
- Terminals 85 and 86: Connect to the low-current coil
- Terminals 30 and 87: Handle the high-current circuit via the internal switch
The mechanic will confirm the layout by checking the wiring diagram on the relay’s casing.
Step 4: Power the Coil
They’ll connect the positive lead of a 12-volt battery to terminal 86 and a negative one to terminal 85. A functioning relay will produce a distinct click, indicating an energized coil.
Step 5: Check the Switched Contacts
While keeping the relay powered, they’ll place the probes of a multimeter on terminals 30 and 87. The reading will show very low resistance or continuity (less than 5 Ohms), confirming that the internal switch has closed and current can pass through.
Step 6: Test the Contacts with the Power Off
They’ll disconnect the 12-volt power from the relay’s coil and use a multimeter to measure the resistance or continuity across terminals 30 and 87.
With the coil de-energized, the meter should show no continuity (0 Ohms), indicating that the internal switch is at its default open position again.
Now that you know how to test a starter relay, you might wonder when it’s actually necessary. Let’s look at some of the signs that indicate possible relay issues.
What Are the Symptoms of a Bad Starter Relay?
If your starter relay is faulty, you’ll likely experience:
1. Difficulty Cranking the Engine
When you start your car, the ignition switch delivers an electrical signal to the starter relay. It then closes the high-current circuit between the battery and the starter motor.
If the relay fails internally due to a burnt coil, corroded contacts, or a stuck switch, it can’t power the starter motor properly. This can result in a weak crank, intermittent starting issues, or no crank at all.
2. Starter Stays Engaged after Engine Starts
If the relay contacts stick closed often due to overheating, they’ll continue to send current to the starter motor even after the engine fires. This can cause grinding noises, excessive wear on the starter, or potential damage to the flywheel.
3. Clicking Noise
A relay with a weak or intermittent coil may still cause abnormal clicking when engaging the ignition. If you notice a single click or repeated clicking, it means the relay is trying to send power to the starter motor but can’t complete the circuit.
NOTE: If there’s no clicking, it could mean that the relay’s coil has burnt out and can’t complete the internal circuit.
4. Electrical Issues
Damaged or welded contacts inside the relay can create a short circuit. This may blow fuses or trigger other electrical problems, such as erratic behavior from dashboard lights and headlights.
5. Burnt Smell or Visible Damage
A strong burning odor and signs of melting around the starter relay often indicate electrical problems or internal failure. Overheating can damage the relay’s components, preventing it from sending power to the starter motor.
However, it’s best to have a mechanic verify a starter relay fault with a proper diagnosis.
How to Diagnose a Bad Starter Relay
The diagnostic steps a mechanic will follow include:
1. Perform Initial Checks
Before testing the relay or starter, they’ll check the battery and connections. A weak battery can mimic relay or starter failure. They’ll also inspect ground straps and battery cable tightness, as loose or oxidized connections can prevent current from reaching the relay/starter.
2. Test the Starter Relay
They’ll turn the ignition key and listen for a clicking sound from the relay.
A click indicates the coil is energizing. If they hear a click but the engine doesn’t crank, the relay contacts may be faulty, or the starter motor could be the issue.
To confirm, they’ll use a multimeter to check for voltage at the relay’s output terminal when turning the key to START:
- If input voltage is present but there’s no output, the relay is bad.
- If output voltage is present but the motor doesn’t crank, the problem lies with the starter motor.
For absolute certainty, they’ll bench test the relay.
3. Test the Starter Motor
If the relay is fine, using a multimeter, the mechanic will measure voltage at the starter solenoid’s input terminal while turning the ignition key to the START position:
- No voltage or low voltage: Indicates a problem in the solenoid’s wiring and connections or a faulty ignition switch.
- Proper battery voltage without the starter engaging: Means a problem with the starter motor or the solenoid.
Once the mechanic confirms the starter relay is bad, they’ll replace it.
How to Replace a Bad Starter Relay
To replace the starter relay, the mechanic will:
- Disconnect the battery: The mechanic will identify the starter relay and disconnect the negative battery terminal before touching the relay or wiring.
- Remove the faulty relay: They’ll carefully pull the old relay out of its socket. If the relay is stuck, they may use relay puller pliers instead of forcing it.
- Inspect the socket and wiring: The mechanic will check the socket for corrosion, dirt, or damage and fix these issues to ensure a proper connection. This’ll prevent a loose or burnt socket from causing the new relay to fail.
- Install the new relay: They’ll align the pins of the new starter relay with the socket and press it into place, ensuring it sits fully and securely.
- Reconnect the battery: The mechanic will reattach the negative battery terminal and ensure the connection is tight to restore electrical power.
- Test the new relay: Finally, they’ll turn the ignition key, listen for the relay click, and observe the engine cranking.
Still have some unanswered questions?
We’ll answer them below!
3 FAQs about Starter Relays
Here’s everything else you need to know:
1. What Is a Starter Relay?
The starter relay is an electrical switch that controls the flow of power from the battery to the starter motor.
When you engage the ignition, a small current activates the relay’s coil, which closes the internal switch. This allows high current to reach the starter motor and crank the engine.
Starter relays come in three types:
- Electromechanical relays: Use a physical coil and contacts to switch power.
- Solid-state relays: Use electronic components to control the circuit without moving parts.
- Hybrid relays: Combines both electromechanical and solid-state designs to provide a balance of durability and performance.
2. How Much Does It Cost to Replace a Starter Relay?
You can expect to pay between $160 and $230 (including parts and labor).
The final cost of replacing a starter relay depends on your vehicle’s make and model, as well as local labor charges.
3. How Do You Prevent Starter Relay Issues?
Here are some best practices to increase your starter relay’s lifespan:
- Ensure your battery is fully charged and the terminals are clean and tight.
- Avoid excessive cranking as it can overheat the relay and damage the contacts.
- Make sure the fuse box or relay housing stays dry and free of debris.
- Jump-start your car properly to avoid damaging the relay and other electrical components.
Test and Replace Your Starter Relay with AutoNation Mobile Service
Your starter relay is essential for maintaining adequate power to the starter motor. A faulty one leads to difficult starts and, ultimately, a dead engine.
So, why risk a no-start when you can have your relay inspected by a professional?
Expert mechanics from AutoNation Mobile Service can test and replace your starter from your driveway. We’re available 7 days a week and offer a 12-month, 12,000-mile warranty on all repairs.
Contact us for any issues with your starter relay and other automotive maintenance needs.