If your power door lock isn’t working properly — especially on the driver door — the door lock actuator may need replacing. This small electric motor controls the locking mechanism inside each door.
Common signs of actuator failure include:
- Door won’t lock or unlock
- Clicking or grinding noises
- Slow or inconsistent operation
- Car alarm triggers randomly
- False “door ajar” warning
Replacing the actuator can be tricky due to the limited space available for work. Additionally, door panel disassembly procedures may vary by vehicle model, so always refer to your car’s service manual before beginning.
Here’s a quick overview of the door lock actuator replacement process:
- Roll up the window and disconnect the battery.
- Remove the door panel — unscrew the inner panel, remove the trim, and unplug wire harnesses.
- Peel back the vapor barrier to access the actuator.
- Disconnect the actuator wire, cables, and detach rods.
- Unscrew the old actuator and pull it out.
- Secure the new actuator in place and transfer clips or rods. Reconnect wiring.
- Reassemble the door — replace the vapor barrier and panel, and reconnect any other necessary wiring.
- Reconnect the battery and test the lock.
If you’d rather get professional help, expect to pay between $270-$550, depending on vehicle model and location.
For more details on door lock actuator replacement, keep reading.
This Article Contains
- How to Perform a Door Lock Actuator Replacement
- How Can You Tell If a Door Lock Actuator Is Bad?
- How Much Does It Cost to Replace a Door Actuator?
- How Often Do Door Lock Actuators Need to be Replaced?
- Can You Repair (Instead of Replace) a Door Lock Actuator?
- Tips to Prevent Future Issues with Door Lock Actuators
How to Perform a Door Lock Actuator Replacement
Before you begin, know that the workspace inside the door is tight, and reconnecting all the small rods, clips, and cables requires patience. Also, consult your vehicle’s service manual for any special instructions, as procedures can vary significantly between makes and models.
If you’re not confident with interior trim removal or electrical connectors, it’s best to leave this job to a professional. A trained technician can prevent broken clips, damaged wiring, or misaligned locks, which are common DIY mistakes.
That said, here’s how to go about it in the proper order:
Tools you’ll need:
- Screwdriver set
- Trim removal tool
- Socket wrench
- Replacement actuator
- Electrical tape (for resealing the vapor barrier)
Step-by-step instructions:
1. Roll Up the Window and Disconnect the Battery
Roll the window up fully to clear space for access. Disconnect the negative battery cable to prevent short circuits or accidental lock activation. Keep your key fob away during the process.
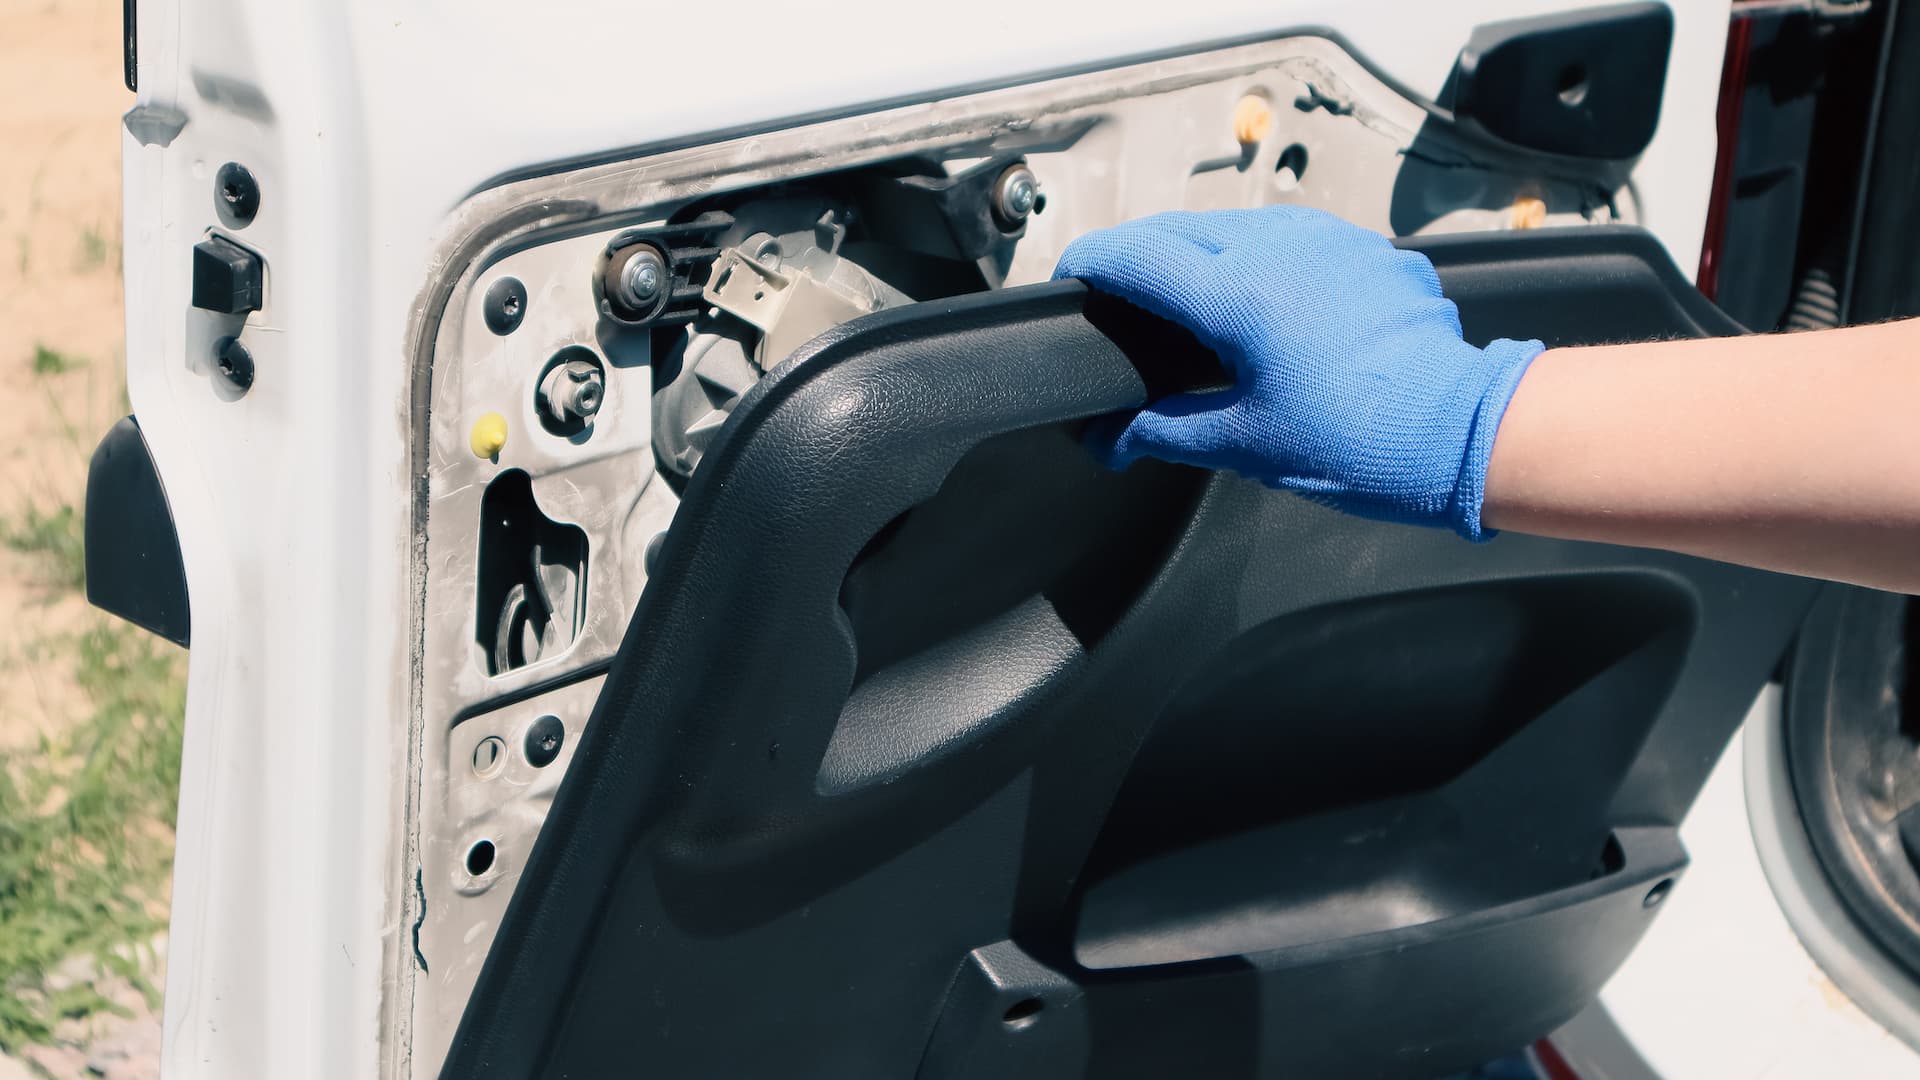
2. Remove the Door Panel
Locate screws near the handle, armrest, and bottom of the panel. Use a plastic trim tool to gently pry out the clips. Once loose, lift the panel upward to unhook it and unplug any switch wiring. Set the panel aside safely.
3. Access the Actuator
Peel back the vapor barrier or insulation sheet behind the door panel to expose the lock assembly. Be careful not to tear the barrier, as it prevents moisture from entering the door cavity.
4. Disconnect Wiring and Cables
Unplug the actuator’s electrical connector and detach rods or cables linked to the handle and lock.
Compare the new actuator to the old one to confirm matching connection points. Some new actuators come pre-attached with cables. Others may require you to transfer the lock rods to the new actuator. Take note of the orientation of clips and levers for correct reassembly.
5. Remove the Old Actuator
Unscrew the bolts securing the actuator to the door frame. Carefully maneuver it out of the door structure.
In some vehicles, the actuator and door latch are built as a single assembly, which must be removed and replaced together.
6. Install the New Actuator
If your replacement actuator is separate from the latch, attach it before installing. Secure the new part firmly, reconnecting all cables, rods, and wiring. Make sure everything sits flush and tight to prevent rattles.
TIP: At this point, you may consider reconnecting the battery and testing whether the new actuator works before reassembling the rest of the door. If everything works, disconnect the battery and continue reassembly.
7. Reassemble the Door
Reassemble the door in reverse order of removal. Reposition the vapor barrier and press it back into place using electrical tape. Reconnect all other wiring and reinstall the door panel, replacing any broken clips for a snug fit.
8. Test the Lock
Reconnect the negative battery cable. Test the locks using both the key fob and interior switch to confirm smooth operation. Make sure all doors lock and unlock correctly before finishing.
Now that you know how to replace one, here’s how to tell if the actuator really is the problem before you take the door apart.
How Can You Tell If a Door Lock Actuator Is Bad?
A weak or failed actuator motor can’t fully engage or release the door latch.
Typical symptoms include:
- Door won’t lock or unlock: The actuator motor or connector may have failed, leaving the latch stuck in one position.
- Clicking or grinding noises: Worn gears or misalignment cause the actuator to struggle, producing repeated clicks or grinding.
- Slow or uneven lock or latch movement: A weak motor or poor signal makes the lock move sluggishly, often starting with the driver door as it receives the most wear and tear.
- Alarm goes off without cause: Faulty actuator signals can trick the system into thinking a door just opened.
- Persistent “door ajar” warning: A malfunctioning actuator confuses sensors, leaving the light on even when doors are closed.
Temporary fix: You can still lock the door manually using the interior switch or key, but it may not communicate with the vehicle’s alarm or central locking system. Replacement is the only way to restore full power-lock and alarm function.
If you’ve confirmed the actuator is bad, your next question is probably how much it’ll cost to fix.
How Much Does It Cost to Replace a Door Actuator?
Expect to pay $270 to $550 total, depending on your vehicle’s make and model:
- Parts: $120–$300 (varies by actuator type and brand)
- Labor: $150–$250 (1–2 hours of work)
Luxury or newer vehicles may cost more due to complex door assemblies. DIY repair can save labor costs, but only if you’re comfortable removing interior panels and reconnecting wiring correctly.
Once you’ve had one actuator fail, you might wonder if the others are next.
How Often Do Door Lock Actuators Need to be Replaced?
Most actuators last 5–10 years before showing signs of wear.
Their lifespan shortens with:
- Frequent locking and unlocking
- Exposure to moisture or corrosion
- Heat and humidity
- Poor-quality replacement parts
Can You Repair (Instead of Replace) a Door Lock Actuator?
The answer depends on the issue:
- Minor problems: Loose connectors, corrosion, or jammed linkages can sometimes be fixed with cleaning or lubrication.
- Major problems: Worn motors, damaged gears, or sealed housings usually require full replacement.
Replacement is typically the most reliable and long-term fix.
But can you extend the actuator’s lifespan?
Tips to Prevent Future Issues with Door Lock Actuators
A few small habits help extend actuator life:
- Avoid slamming doors — impact can damage mechanisms.
- Replace weak key fob batteries to prevent erratic locking.
- Fix water leaks promptly to prevent corrosion.
- Use all door locks occasionally to prevent them from seizing due to disuse.
- Keep latches lightly lubricated with dry silicone spray.
Get Your Door Locks Back in Sync
A malfunctioning door lock actuator is a common — and fixable — car door issue. Whether you DIY the repair or call a pro, understanding the signs, steps, and costs helps keep your car secure.
For a quick, hassle-free repair, let AutoNation Mobile Service handle it.
We bring the shop to your driveway, 7 days a week, and every repair includes a 12-month/12,000-mile warranty.
Schedule your appointment online to get your power locks working like new again.